Pages

Showing posts with label craftiness. Show all posts

Friday, February 7, 2014

Reed is Dino-Mite!

First and foremost, I can't even believe that my baby is 2 years old already. (Don't even get me started on my 6 year old) 

For Reed's party we decided to do a dinosaur theme because he really likes to play with the ones we have at home. Let's be honest, it's super cute when he roars too. :)

So I got to browsing Pinterest and found THEE CUTEST dinosaur tail I have ever seen. Then I found a super cute shirt I could do with Chase.  Now I'm not going to do a tutorial on these because there's no reason to. Here's the link for the Dinosaur Tail and Dinosaur Spiked Sweatshirt.

Now, I am the first to admit that sewing is not my strong point. I actually sew more on paper than I do on fabric. :) The hoodie was SUPER easy and the tail wasn't too bad. 

Here's how they turned out:


So cute right?!

I found these dinosaur hats at Dollar Tree of all places, and a lot of other little things for the treat bags and such.


I had these chalkboard labels from a couple years ago. I added them to cardstock and  wrote Herbivores and Carnivores next to the food.


We had Dino eggs (Grapes) and Dinosaur tails (Carrots and celery sticks) along with Dinosaur chicken nuggets. We also got a 3 foot sub.


I also had the boys' dinosaur toys and books around the tables for decoration. 

Here's a video of the night:


Thanks for stopping by!


Tuesday, February 4, 2014

Project Life Week 3

How is everyone on this beautifully cold, snowy morning? 

The best thing about these freezing cold days? More time for crafting. :)

Here's week 3:

(Left side)


For this week, I had enough pictures for a 2 page spread. 


Quick tip: if you don't have enough room for a title card, use one of your pictures instead! I just used some letter stickers to put the week number in the white space of my photo. I used a photo safe marker to add a somewhat straight square around it. I added a strip of paper to stamp the dates on and a piece of washi tape to ground it. So simple and easy.


I added a label sticker to add journaling to a picture and then cut out a tag out of cardstock to add journaling for another picture. For Christmas my husband bought me an old typewriter so I've been trying to use that more in my pages. I also am trying to add sewing more. 


For this pocket I used my visitor sticker from visiting my cousin in the hospital, and added a journaling card behind it. Of course I added a picture of their sweet baby with it.

(Right side)


This week I had some pictures of my youngest from hanging out at home and then my oldest was home sick one day. We've been having some crazy  weather here lately and so I took a screenshot of the wind gusts from our local TV station. 


This card is from We R Memory Keepers. I just added the date and  a small sticker. 


This little collage, I just used a label, some letter stickers and leftover piece of washi tape. 


That's all for today! This last weekend we had my youngest's birthday party so I'm starting to put together a post about all the fun and crafty things I incorporated into that. Stay tuned!


Monday, January 13, 2014

Valentine's Day Mantel

Hello all!
So I finally have all of our Christmas decorations down and put away and now everything is bare and sad looking. So I decided to get a head start of some Valentine's Day decorating!


This heart banner I made using a tutorial I found through Pinterest HERE


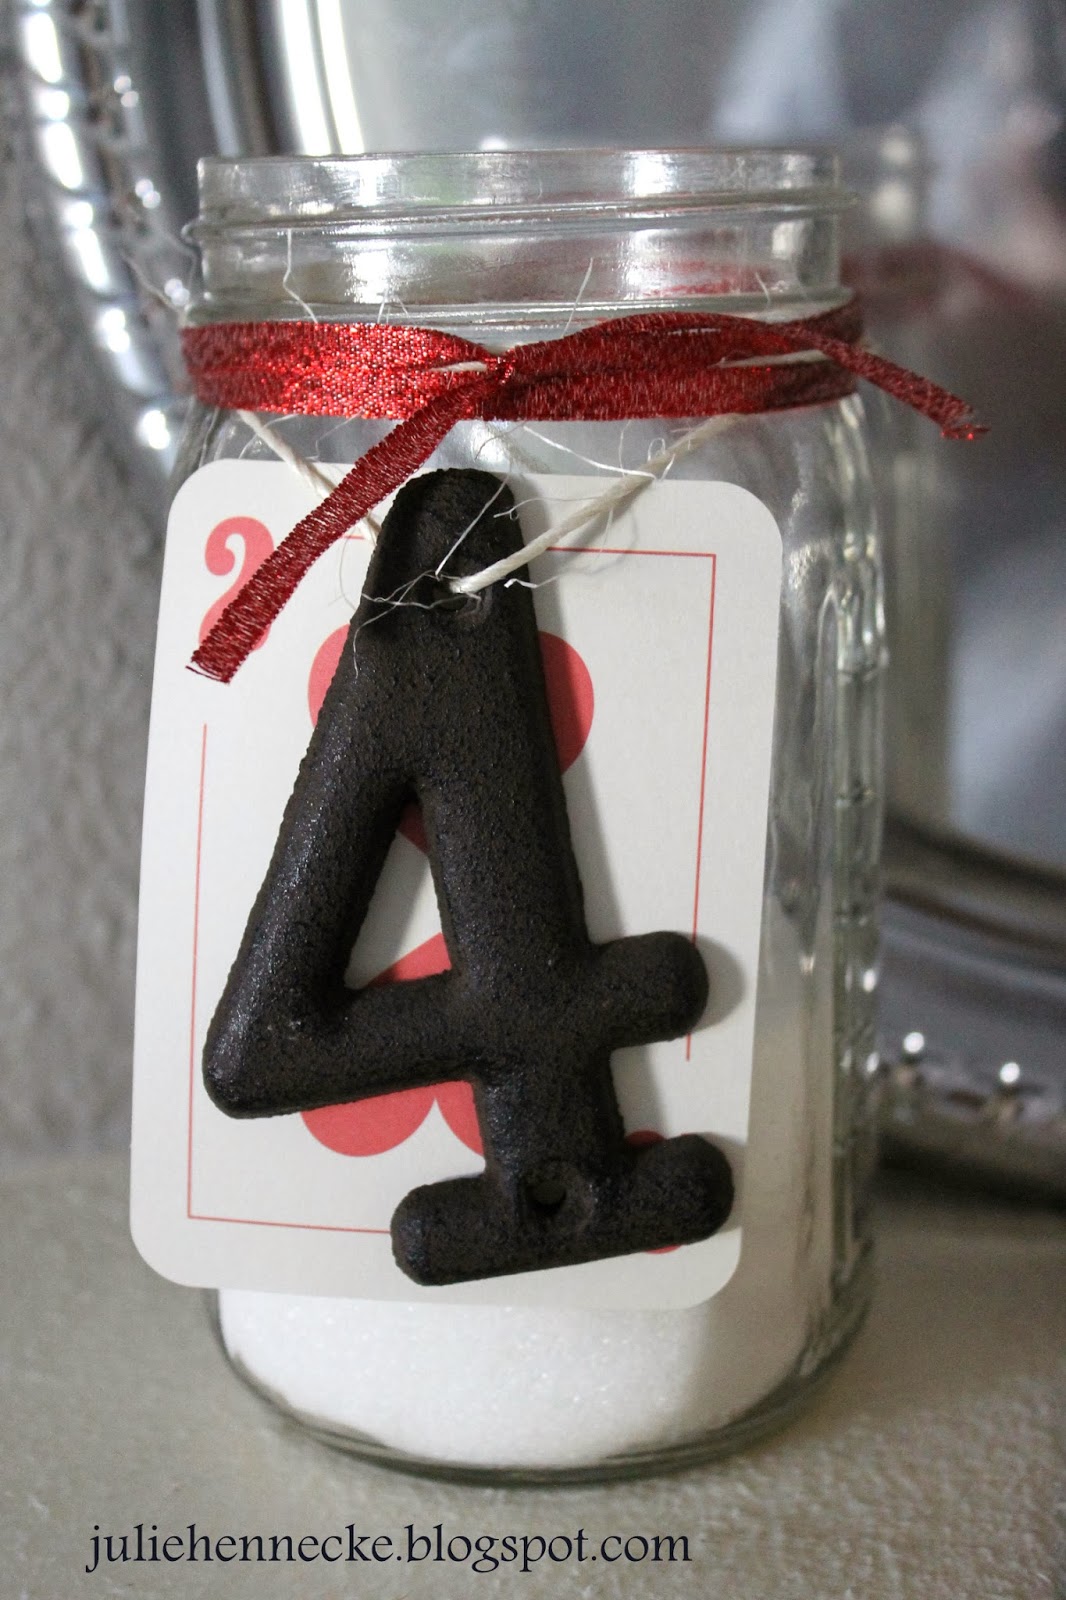
I used this card from the Kraft Edition of Project Life to put behind the 4. I also added some ribbon to the top of the jar.


I used some old scrabble times and glue dots to put in this frame. 


I put one of our engagement pictures in this frame and added a ribbon to the candle. 


I also put up this Willow Tree figurine. This is called Promise.


This banner I made with just some scrapbooking supplies. 


The red and white polka dot cards are again Project Life cards from the Kraft Edition. The alphabet cards are from a pack of cards from BazzillBets. Old cards that I don't even think are available anymore. 


So there we go! 

(If you want to check out how I decorated the mantel for Christmas and the Fall, check that out HERE and HERE)


Thursday, June 20, 2013

Getting in the holiday spirit!

Hello hello! It's me again. :)

Sooooo 4th of July is fastly approaching which brings back so many memories for our family. Exactly 2 weeks after the 4th my firstborn was born. It seems like so long ago looking back but at the same time seems like yesterday!

I have been trying to find some crafty things for this "said firstborn" to do during these summer months, to keep us all from going stir crazy since it's really starting to get hot outside now.

I found this super easy (and cute!) project to do that helps us all get excited for the 4th of July.

All you need is some blue and red paint, a brush and a plain white t-shirt!


All you need to do is paint your child's hand blue (Chase's favorite part):


and then stamp it onto the t-shirt in the top left area.


Next paint on some red stripes. You can be as perfect or freestyling as you want. I happened to have some painter's tape laying around, so I used that to give Chase some guidelines to paint on.


I added some lettering on the bottom so we would remember what year. 


So easy, a caveman could do it. Ha. Anyways I'm going to make one for Reed too. (I have to coordinate them while Chase still thinks it's cool to dress alike :) )


Got leftover paint? Creative painting time! :)


This little painter is going to be 6 in less than a month.  And whether I like it or not, he's heading to Kindergarten. He sure is cute isn't he? :)


So there you be! Go out and paint something! 


Helpful hint: If this is a shirt you're going to want to be able to wash and wear many times over, it would be a good idea to use fabric paint. 

Wednesday, June 12, 2013

Look out world, Mama got her sewing machine out!

So it's been a long, loooooong time since I got my own sewing machine out. Not necessarily by choice, but a long time nonetheless. 


About 2 or 3 months ago, my hubby "surprised" me with a brand new camera. (I picked out which one, and then I acted surprised when he finally bought it for me. :) ) It's a Canon Rebel T3 and I Lo-oo-ooove it! 

Aint she purdy? :)  

Well this pretty little girl needed to get dressed up a bit. :) So I decided to make a camera strap cover for her. It's actually not too hard once you get started. (Believe me, I am NOT a seamstress in any shape of the word and my turned out awesome!) 

OK. First you need some pretty fabric. 


Standard camera straps are about 1 1/2 inches wide and 22 inches long. So I (very sloppily) cut my fabric roughly 3 1/2 by 25.  You need extra length to sew up the ends.


Once you hemmed both the top and bottom, fold it in half lengthwise and inside out.


Sew her up nice and straight. (haha yeah right. I told you I don't sew :) )


Now to finish just turn it inside out. Yes I know it's easier said than done, but it has to be done. :) Just keep scushing it up. (That's a technical term. )


There you go! 
To get it on the strap just untie the strap from the camera and once again schush it on.


Ta-da! 
(Excuse the next couple of pics, they're from my phone)
Now you can make her even prettier by putting some yummies on the strap.


Pin on a pretty brooch....


Or a homemade flower.

So there you go! Just a little something to dress up your camera. Because really. Why be boring? :)


\